 RouteLocker 2
Set up RouteLocker 2 for your next drive
RouteLocker 2 is built to feel familiar from the first trip. Give it the permissions it needs, save a place you drive to often, and you will have speed, trip details, destination weather, and history ready when you need them.
1. First launch and permissions
The first time you open the app, a short walkthrough may point out the dashboard, the Start/Stop trip button, and the Destinations and Trips tabs. It is quick, and you can always come back to this guide later.
Microphone and speech recognition are optional. They are used only for voice search, and recognition happens on-device when your device supports it.
2. The dashboard at a glance
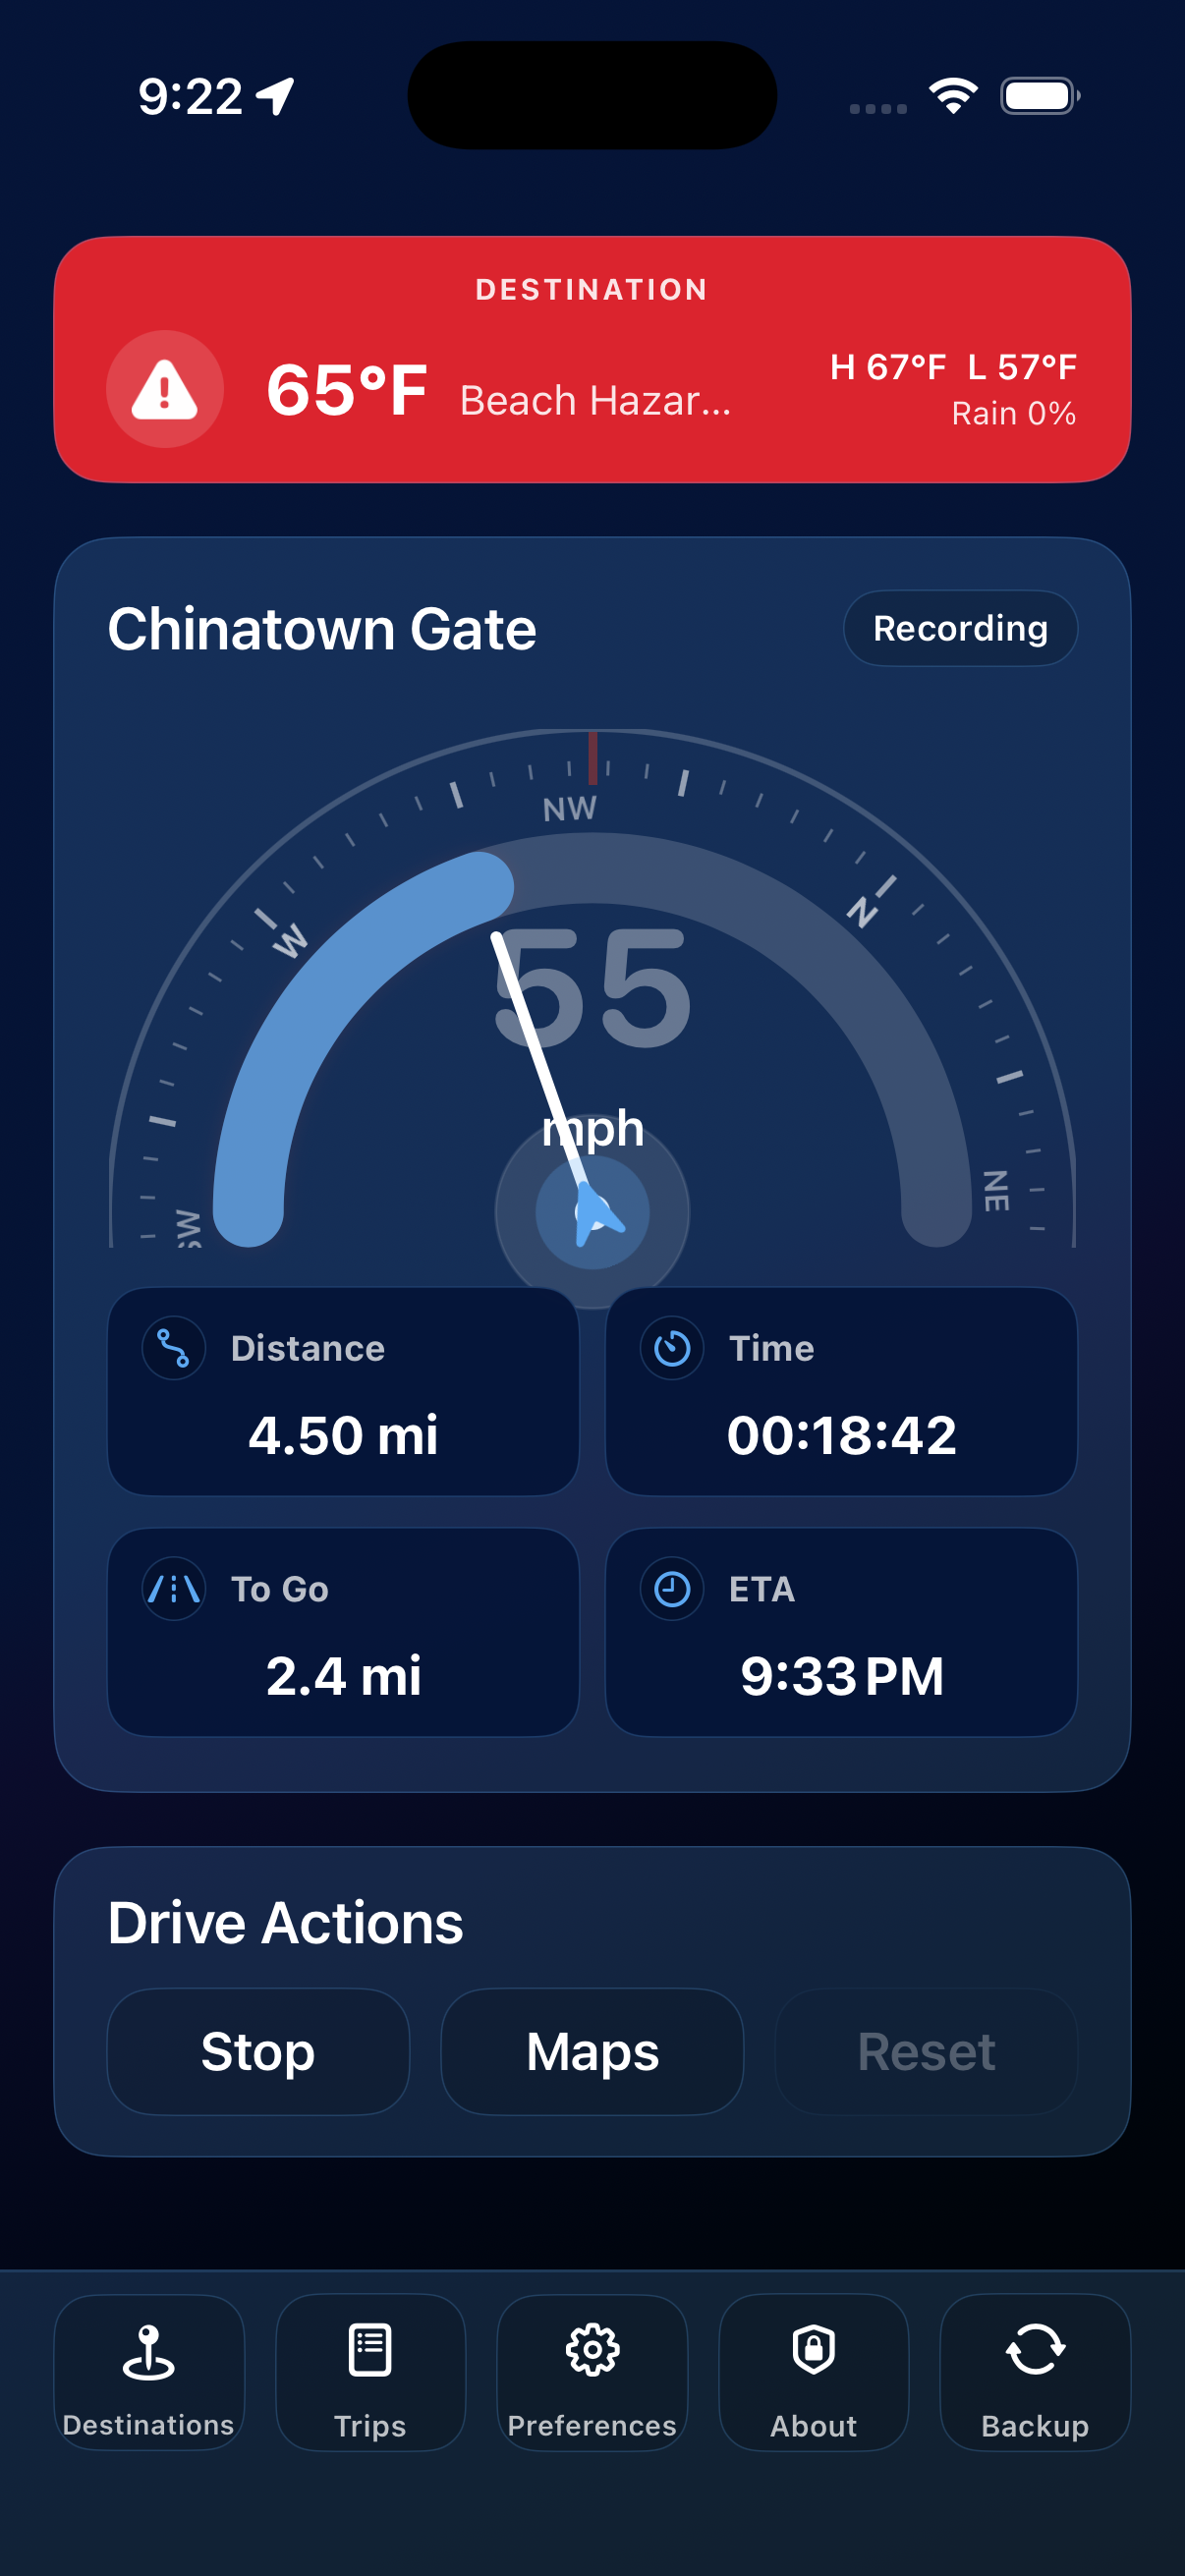
The dashboard is the screen you will use most. It keeps the essentials large and readable:
- A large speed gauge, with a maximum range you can set in Preferences.
- A compass ring on devices that include a magnetometer.
- Distance, elapsed time, route progress, and ETA while tracking is active.
- Remaining distance, ETA, and weather when you select a destination.
- A bottom dock for Destinations, Trips, Preferences, About, and Backup.
3. Track your first trip
- Tap Start on the dashboard when you are ready to record.
- Drive normally. The speed gauge, distance, and elapsed time update live.
- Tap Stop when you arrive. RouteLocker 2 saves the trip automatically when it meets the minimum duration and distance.
- Tap Reset when you want to clear the current metrics and selected destination.
4. Save and use a destination
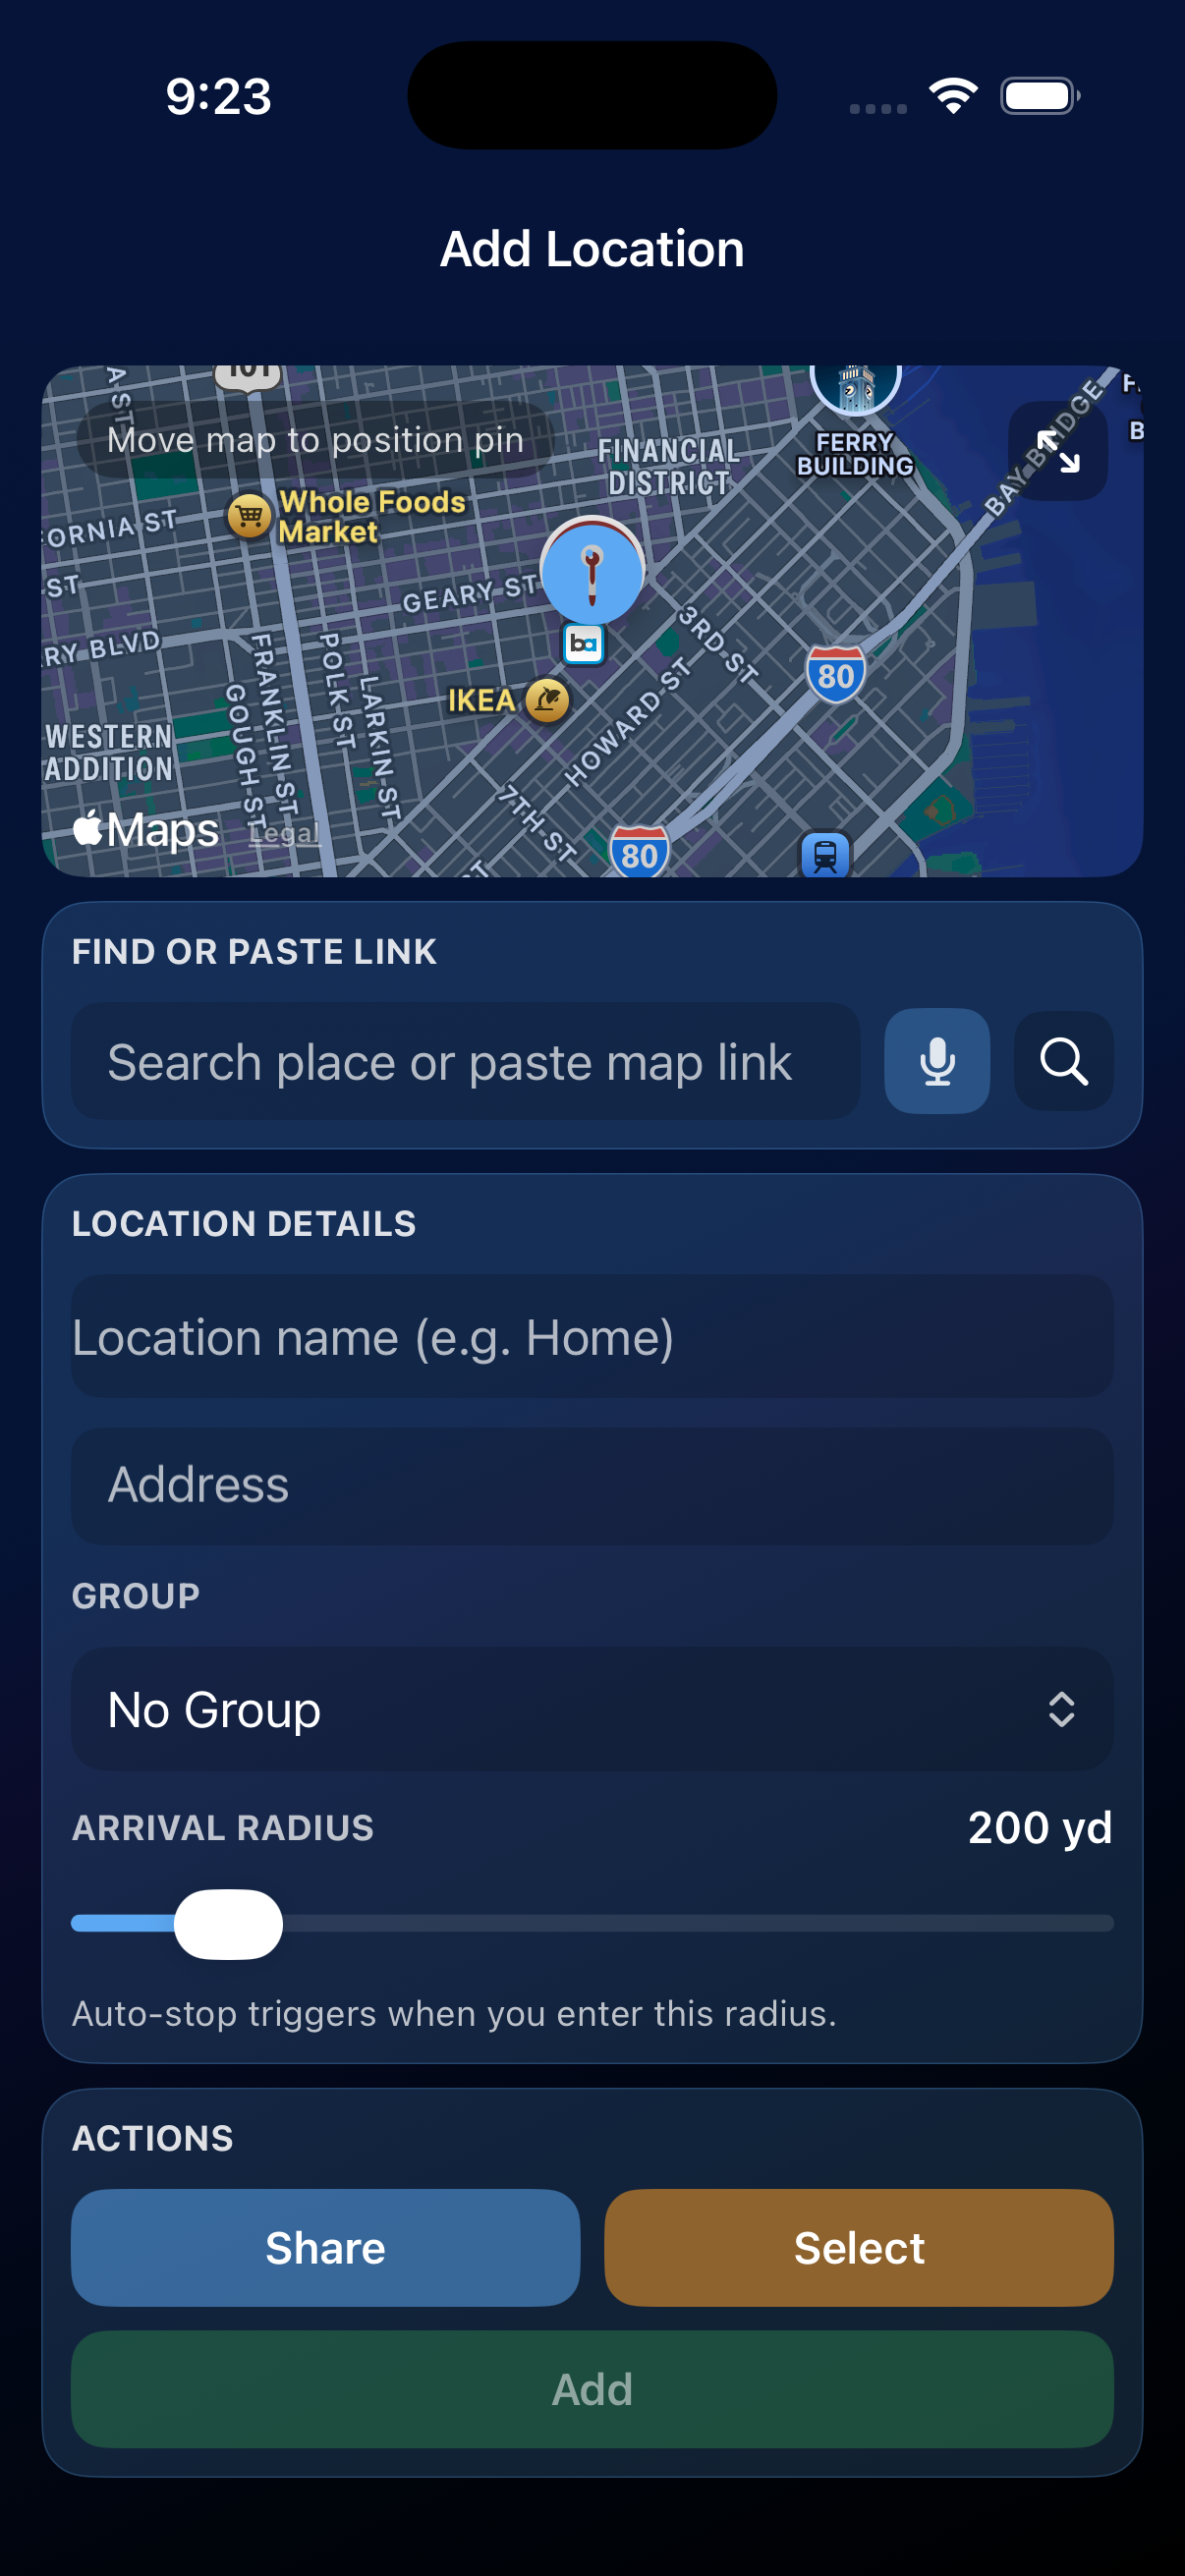
- Open the Destinations tab.
- Tap the add button, then search for an address or business, or drop a pin on the map.
- Give the place a group and arrival radius if you want a little more control.
- Select the destination to show it on the dashboard.
- Tap Navigate to open directions in your chosen map app: Apple Maps, Google Maps, or Waze.
5. Check destination weather
Once a destination is selected, the dashboard can show weather for where you are going. Tap the weather header to see the fuller picture:
- Current temperature, high/low, rain chance, feels-like, wind, and humidity.
- An hourly temperature and precipitation chart.
- Live NOAA/NWS radar from the chart when you want a closer look.
- Expandable weather alerts when warnings are in effect.
6. Review and share trips
Open the Trips tab to browse your history. Filter by Week, Month, or All, search by destination, add notes, and share selected trips as a CSV file.
7. Make it yours in Preferences
Visit the Preferences tab to choose your theme, units, gauge range, map app, arrival alert sound, auto-start and auto-stop behavior, and default arrival radius.